
Modern Kitchen Appliance Renovation Guide (2026)
Table of Contents
- Plan Your Kitchen Appliance Renovation Around Workflow
- What Is the Average Cost of a Kitchen Appliance Package?
- Choose Appliances That Fit Your Layout and Finish
- Your Kitchen Appliance Installation Checklist
- Handle Electrical, Plumbing, and Ventilation Requirements
- Integrate Smart Kitchen Technology Without the Headaches
- Avoid These Renovation Mistakes
- Ready to Start Your Kitchen Appliance Renovation?
- Frequently Asked Questions
Last Updated: September 4, 2026
A kitchen appliance renovation is the process of replacing your major cooking, cooling, and cleaning appliances as part of a coordinated remodel, balancing layout, utility connections, and design. Most homeowners start by picking out a new refrigerator or range, only to discover later that the electrical panel needs an upgrade or the cabinet opening is two inches too narrow. This guide from Crestpoint Home walks through the full sequence: planning around how you cook, budgeting, matching specs to your layout, handling electrical and plumbing work, installation, smart home integration, and common mistakes.
Before you buy anything, measure your space and confirm the rough-in dimensions for each appliance category. The work triangle concept, which positions the sink, cooktop, and refrigerator within a comfortable kitchen footprint, still guides most modern layouts.
Plan Your Kitchen Appliance Renovation Around Workflow
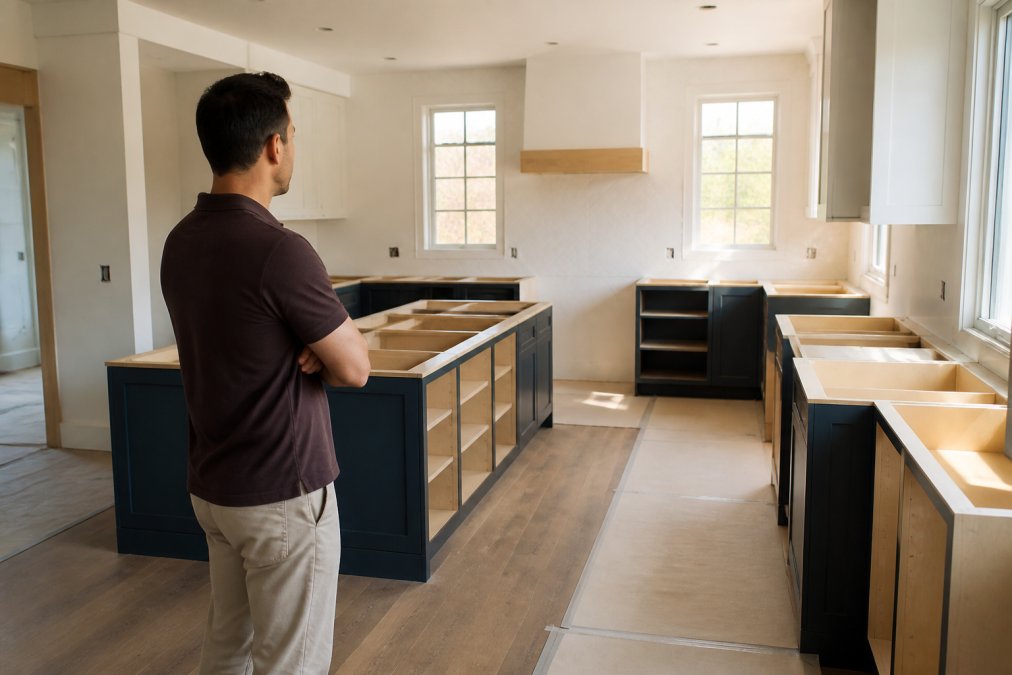
A kitchen appliance renovation should start with how you actually move through the room, not with a catalog. Consider the kitchen workflow: where do you unload groceries, prep ingredients, cook, and clean up? Each of those zones demands specific appliances placed within reach. The refrigerator belongs near the entry point for groceries, while the dishwasher should sit beside the sink to minimize plumbing runs.
Ergonomic placement matters just as much as the work triangle. If you bake frequently, position the oven at a height that avoids bending. If you entertain, a built-in wine cooler near the dining area keeps traffic out of the prep zone. Sketch your ideal layout on paper first, then verify that your appliance selections physically fit within the planned cabinetry.

What Is the Average Cost of a Kitchen Appliance Package?
The average cost of a kitchen appliance package varies widely based on brand tier, fuel type, and finish. A full package typically includes a refrigerator, range or cooktop, oven, dishwasher, and sometimes a ventilation hood. Budget allocation should follow your cooking habits: serious home cooks often spend more on the range and less on the dishwasher.
For a guide to premium packages, consider what Crestpoint Home offers. The Forno Salerno 40-inch built-in stainless steel refrigerator, priced at $2,249.00, delivers 20 cu. ft. of capacity with an ENERGY STAR certification and an inverter compressor for quiet operation. The Forno Azienda 24-inch dual temperature zone wine cooler, at $2,199.00, stores up to 108 bottles across two refrigerated drawers.

| Appliance | Example Model | Price | Key Feature |
|---|---|---|---|
| Refrigerator | Forno Salerno 40" Built-In | $2,249.00 | 20 cu. ft., ENERGY STAR |
| Wine Cooler | Forno Azienda 24" Dual Zone | $2,199.00 | 108 bottles, two zones |
| Drawer Freezer | Forno Cosenza 24" Built-In | $1,899.00 | Ice maker, indoor/outdoor |
| Wine Cellar | Forno Abruzzo 48" Dual Zone | $4,999.00 | 102 bottles, 24 cu. ft. |
Choose Appliances That Fit Your Layout and Finish
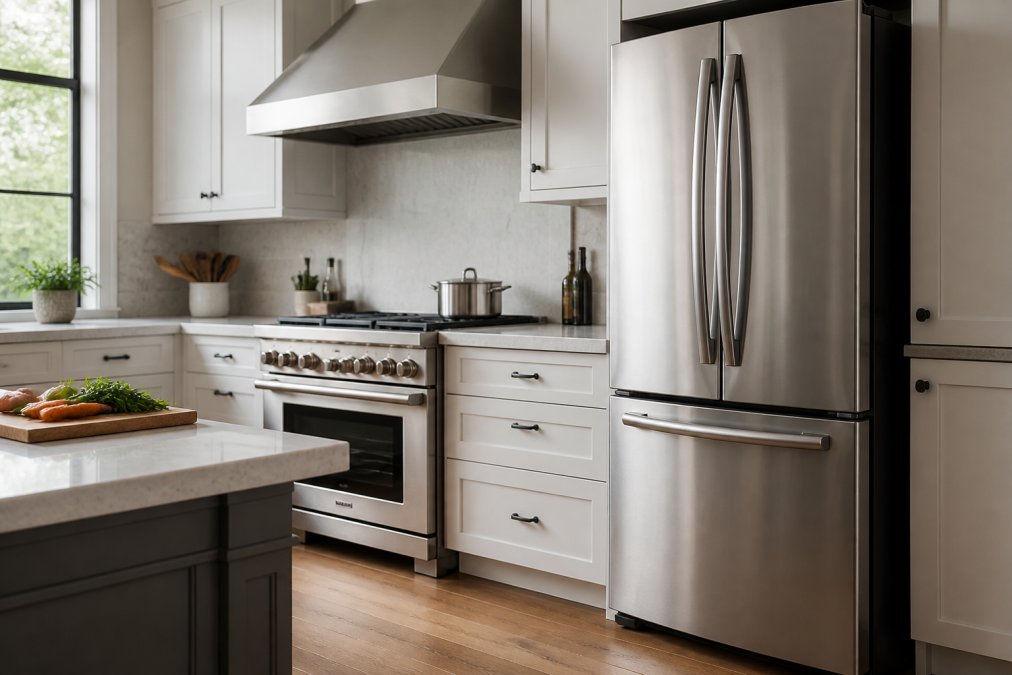
The built-in vs freestanding decision shapes your entire kitchen design. Built-in appliances, like the Forno Salerno refrigerator, sit flush with cabinetry for a seamless, panel-ready look. Freestanding models are easier to install and replace but leave visible gaps that collect dust. Counter depth is another critical spec: standard refrigerators extend past the counter line, while counter-depth models align with your cabinetry for a cleaner footprint.
Finish coordination ties the room together. Stainless steel remains the most popular choice for its durability and professional appearance, but it shows fingerprints. Panel-ready appliances allow you to attach custom cabinet fronts, hiding the appliance entirely. Match the finish of your vent hood, dishwasher, and refrigerator to avoid visual clutter.
When evaluating specs, read the spec sheet analysis for each model carefully. Check the cutout dimensions against your existing cabinetry clearance. The Forno Cosenza 24-inch drawer freezer, for example, fits both indoor and outdoor kitchens with a rust-resistant stainless steel finish.

Your Kitchen Appliance Installation Checklist
Follow this kitchen appliance installation checklist to keep the project on schedule:
- Confirm final measurements and rough-in dimensions for every unit.
- Verify electrical load capacity with an electrician before ordering.
- Check plumbing rough-in locations for the dishwasher and refrigerator water line.
- Order appliances early to account for supply chain lead times.
- Schedule delivery only after cabinetry and countertops are installed.
- Test each appliance immediately after installation for damage or defects.
- Keep all warranty coverage documents and registration cards organized.
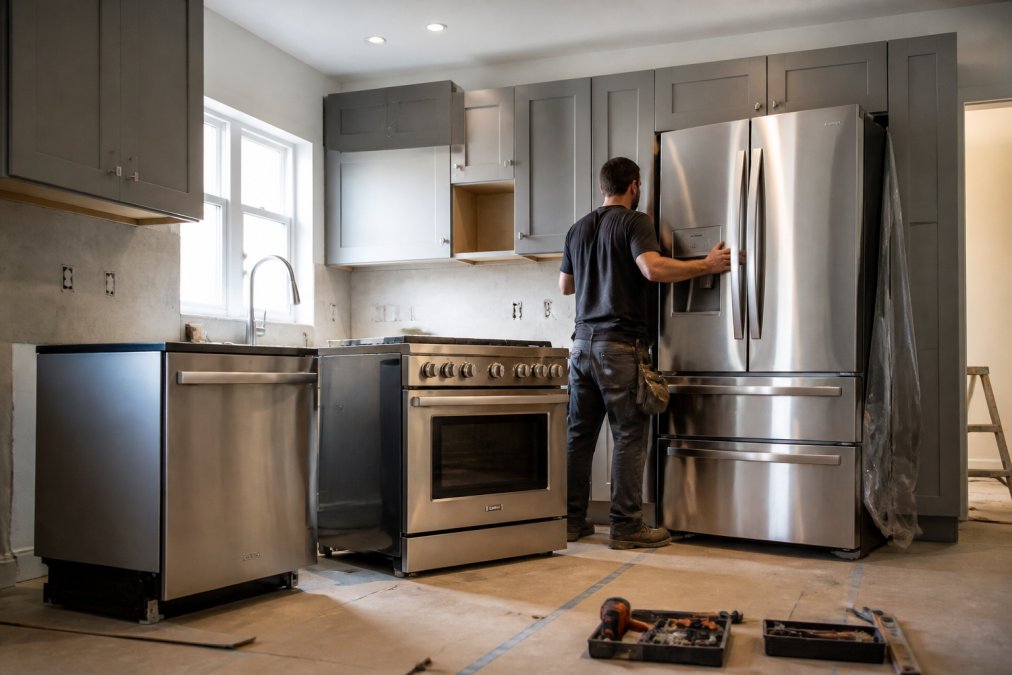
Installation sequencing matters. Appliances that slide into a cabinet opening, like a built-in refrigerator, go in after the cabinets but before the countertops if the countertop would block the path. Drawer freezers and wine coolers with decorative grilles can be installed last since they do not require permanent counter support.
Handle Electrical, Plumbing, and Ventilation Requirements
This is where most appliance renovations stall. The appliance itself is easy to order; the 240-volt outlet, the gas line, and the water line behind the wall are what actually determine whether your new range or refrigerator can be installed on schedule. Walk through these utility requirements with your contractor or a licensed electrician and plumber before finalizing any appliance selection.
Electrical Load and Dedicated Circuits
Every major appliance needs a dedicated circuit, meaning it serves only that appliance. A standard electric range or cooktop requires a 240-volt circuit, typically rated at 40 or 50 amps. Induction cooktops have similar requirements. A built-in wall oven also needs its own circuit, usually 30 or 40 amps. Refrigerators, dishwashers, and microwave drawers each need a dedicated 120-volt, 15- or 20-amp circuit.
Older homes often have a 100-amp electrical panel, which may not have enough spare capacity for a modern appliance package. Adding a new 50-amp circuit for a range plus a 20-amp circuit for a dishwasher can push the panel to its limit. Upgrading to a 200-amp panel often runs between $1,500 and $3,000. Get an electrician to perform a load calculation before you order appliances, not after the old range is already disconnected.
Gas Line Sizing and Shutoff Valves
If you are installing a gas range or cooktop, confirm that the existing gas line has the correct diameter and BTU capacity. A typical residential gas line is 1/2-inch or 3/4-inch black iron pipe. A high-output pro-style range with six burners and a griddle can demand 60,000 to 80,000 BTUs, which may require a larger line or a new dedicated run from the manifold. Your gas utility or a licensed plumber must perform a pressure test and install a shutoff valve within reach of the appliance.
Plumbing Rough-Ins for Refrigerators and Dishwashers
A refrigerator with an ice maker and water dispenser needs a cold water supply line, typically 1/4-inch copper or braided stainless steel tubing, run to the unit's connection point. If you are moving the refrigerator, the water line must be roughed in during the framing or cabinet phase. A dishwasher requires a dedicated hot water supply line, a drain line, and an air gap or high-loop installation to prevent backflow. The drain line must connect to the sink drain or a dedicated waste tee, and local plumbing codes often require the air gap device to be visible on the countertop.
If you are adding a pot filler faucet above the range, a beverage center, or a built-in coffee maker, each requires its own supply and drain rough-in. A pot filler needs a hot water line stubbed out of the wall at the correct height, typically 36 to 42 inches above the finished floor. Plan these rough-ins during the demolition phase, because cutting into finished tile or backsplash later is expensive and messy.
Ventilation: Ducted vs. Recirculating Hoods
Ventilation requirements depend on your cooktop and your cooking habits. Gas ranges produce combustion byproducts, grease, and smoke, so a ducted hood that exhausts to the outside is strongly recommended. The hood's capacity is measured in cubic feet per minute (CFM). A common rule of thumb is 100 CFM per 10,000 BTUs of cooktop output, so a 60,000-BTU gas range needs at least 600 CFM (fantech.com). Induction and electric cooktops produce less heat and fewer airborne contaminants, so a 400 to 600 CFM hood is usually sufficient.
A ducted hood requires a path from the hood to an exterior wall or roof. If your kitchen is on an interior wall, running ductwork through the ceiling and out the roof adds cost and complexity. Recirculating hoods use charcoal filters to trap grease and odors, then return the air to the room. They are easier to install but noticeably less effective for heavy cooking. If you are a serious home cook, budget for a ducted hood and plan the duct run during the rough-in phase.
Makeup Air and Local Code Requirements
High-CFM range hoods, typically above 400 CFM, can depressurize a home and pull exhaust fumes back down the chimney or flue. Many local building codes require a makeup air system when the hood exceeds a certain CFM threshold, often 400 or 600 CFM depending on your jurisdiction (iccsafe.org). A makeup air damper opens when the hood runs, drawing fresh outdoor air into the home to balance the pressure. This system adds cost, typically $500 to $1,500 installed, but it is code-required in many areas and prevents a real safety hazard. Check with your local building department before you select a high-CFM hood.
Integrate Smart Kitchen Technology Without the Headaches
Most kitchen renovation guides treat smart appliances as an afterthought, a paragraph about Wi-Fi-enabled refrigerators and app-controlled ovens. But a modern kitchen renovation is also a network infrastructure project. If you want your appliances to actually communicate with each other and with you, you need to plan the connectivity layer just as carefully as the electrical and plumbing layers.
Choose a Single Ecosystem, Not a Collection of Apps
The biggest mistake homeowners make is buying appliances from different manufacturers that each require their own companion app. You end up with four apps on your phone, none of which talk to each other. Instead, decide on a primary ecosystem early in the planning phase. The three main options are Amazon Alexa, Google Home, and Apple HomeKit. Most major appliance brands support at least one of these, but not all support all three.
For example, if you are already invested in Apple HomeKit for your lighting and security, look for appliances that are HomeKit-compatible or that work through a bridge or hub. Some brands, like LG and Samsung, have their own proprietary platforms (ThinQ and SmartThings, respectively) that integrate with Alexa and Google but have limited HomeKit support. If you are building a fully integrated smart kitchen, choose appliances that natively support your primary ecosystem, or plan to add a hub like a SmartThings or Hubitat device to translate between protocols.
Connectivity Standards: Wi-Fi, Bluetooth, Zigbee, and Matter
The smart home industry is converging on Matter, a new connectivity standard supported by Apple, Google, Amazon, and Samsung. Matter-enabled devices can communicate locally without relying on cloud servers, which improves response time and reliability. When shopping for appliances, look for the Matter logo. If a model is Matter-certified, it will work with your existing ecosystem regardless of which assistant you use. Older appliances may rely on Wi-Fi or Bluetooth alone, which can be less reliable and may require the manufacturer's cloud service to function.
Your home network also matters. A kitchen full of smart appliances can add 10 to 20 devices to your Wi-Fi network, competing with your phones, laptops, and streaming devices for bandwidth. If your router is on the far side of the house, the kitchen may have weak signal strength. Consider adding a mesh Wi-Fi system or a dedicated access point near the kitchen during the renovation. Running an Ethernet cable to a central kitchen location for a mesh node costs less than $200 during the rough-in phase but is nearly impossible to retrofit after the drywall is closed.
Start with High-Value Integrations, Not Gimmicks
A refrigerator with a touchscreen that streams recipes sounds impressive but rarely changes how you cook. Focus on smart features that solve real problems:
- Leak detection sensors under the dishwasher, refrigerator, and sink. These small wireless sensors alert your phone the moment they detect moisture, potentially saving thousands of dollars in water damage.
- Remote oven preheat and monitoring. If you often arrive home to a cold kitchen, a smart oven that you can preheat from your car is genuinely useful.
- Door-open alerts for the refrigerator and freezer. A forgotten open door wastes energy and can spoil food; an alert prevents both.
- Dishwasher cycle notifications. Knowing when the cycle finishes lets you unload promptly, avoiding musty odors.
These features do not require a full smart appliance package. You can add a smart plug to a standard coffee maker, install a standalone leak sensor, or use a smart thermostat to manage kitchen ventilation. The goal is a cohesive system, not a collection of gadgets.
Voice Control and Accessibility as a Design Principle
Smart home technology is not just about convenience; it is a powerful tool for universal design and aging in place. Voice-controlled assistants can operate appliances for cooks with limited mobility or vision. A voice command can preheat the oven, start the dishwasher, or turn on the vent hood without requiring a user to reach high controls or read a small display.
When planning your appliance layout, consider placing smart displays or voice assistants at a height accessible from a seated position. Drawer dishwashers, which slide out at waist height, pair well with voice controls for users who cannot bend. Wall ovens with Wi-Fi connectivity allow remote monitoring, so a caregiver can check on an elderly family member's cooking from another room. If you are designing for long-term occupancy, these integrations are practical accessibility features that support independent living.
Security and Privacy Considerations
Every smart appliance that connects to your home network is a potential entry point for a hacker. Change the default password on every device, enable two-factor authentication on your manufacturer accounts, and keep firmware updated. If a manufacturer discontinues support for an appliance's app, the device may lose functionality or become a security risk. Before purchasing a smart appliance, check the manufacturer's track record for firmware updates and their stated policy for end-of-life support. A $3,000 refrigerator that loses its smart features after five years is still a good refrigerator, but you should know that risk going in.
Avoid These Renovation Mistakes
The most common kitchen appliance renovation mistake is ordering before measuring. Verify the kitchen footprint, cabinet opening width, and depth for every appliance. A 40-inch built-in refrigerator requires an exact 40-inch opening; even a half-inch discrepancy causes installation delays.
Another frequent error is ignoring ventilation requirements until after the cooktop is installed. Retrofitting a ducted hood after the fact requires cutting through cabinetry and drywall, which adds cost and extends the timeline. Similarly, failing to check electrical load capacity can stall the project when the electrician arrives and discovers the panel cannot handle the new range.
Finally, do not overlook resale value. Built-in appliances and panel-ready designs appeal to future buyers, while highly customized finishes may date quickly. Choose timeless stainless steel or neutral panel options over trendy colors if you plan to sell within the next decade.
Ready to Start Your Kitchen Appliance Renovation?
A successful kitchen appliance renovation comes down to planning the workflow, confirming utility requirements, and choosing appliances that fit both your space and your cooking style. The process feels overwhelming at first, but breaking it into phases, layout, budget, selection, and installation, keeps the project manageable. Crestpoint Home carries a curated selection of high-performance cooling systems and precision kitchen tools, with detailed product specifications and dimensions provided for every item. Our support team is available by phone, email, or live chat to help you confirm measurements and choose the right configuration for your kitchen footprint. Get started with Crestpoint Home and build a kitchen that serves you well for decades.
Frequently Asked Questions
How much should I budget for appliances in a kitchen renovation?
A standard rule is to allocate 10-20% of your total renovation budget to appliances. For a full appliance package, costs vary widely. At Crestpoint Home, a built-in refrigerator like the Forno Salerno 40-inch model is $2,249, while a 48-inch dual-zone wine cellar is $4,999. Your final number depends on whether you choose built-in or freestanding models and which features you prioritize.
What is the new trend for kitchen appliances in 2026?
The biggest trend is panel-ready appliances that blend seamlessly with cabinetry for a custom look. Smart connectivity is also standard now, allowing you to monitor temperatures and receive alerts from your phone. Built-in refrigeration, like the Forno Salerno, and dedicated zones for wine storage are popular for homeowners who entertain and want a polished, integrated design.
What is the 3x4 kitchen rule and how does it apply to appliance placement?
The 3x4 kitchen rule is a simple guideline for spacing: keep 3 feet of clearance in front of key appliances like the dishwasher and oven, and maintain 4 feet of clearance in main walkways. This prevents bottlenecks when the dishwasher door is open or someone is pulling a hot pan from the oven. Following this rule during planning ensures your new appliances are safe and comfortable to use daily.
How do I know if my new appliances will fit my existing kitchen layout?
Measure your space carefully before buying. Check the width, height, and depth of the opening, and verify that doorways and hallways can accommodate the appliance during delivery. Pay attention to counter depth versus standard depth for refrigerators. Always review the spec sheet for rough-in dimensions, and confirm that your electrical outlets and plumbing rough-ins are positioned correctly for the new units.
Should I prioritize energy-efficient appliances during my renovation?
Yes. Energy Star certified appliances use less electricity and water, which lowers your monthly utility bills. They also perform better in many cases. The Forno Salerno refrigerator is Energy Star certified and uses an inverter compressor for precise temperature control and quieter operation. Choosing efficient models is a straightforward way to reduce your kitchen's environmental impact while protecting your budget over the appliance's lifecycle.
What does a kitchen appliance installation checklist include?
A complete checklist starts with confirming final measurements and ordering appliances early to manage lead times. Before installation, verify electrical load capacity, plumbing rough-ins, and vent hood CFM requirements. On installation day, protect your floors, ensure the area is clear, and inspect each unit for damage before the crew leaves. Finally, test all functions, register your warranty, and keep all manuals and receipts in one place.
This article was written using GrandRanker