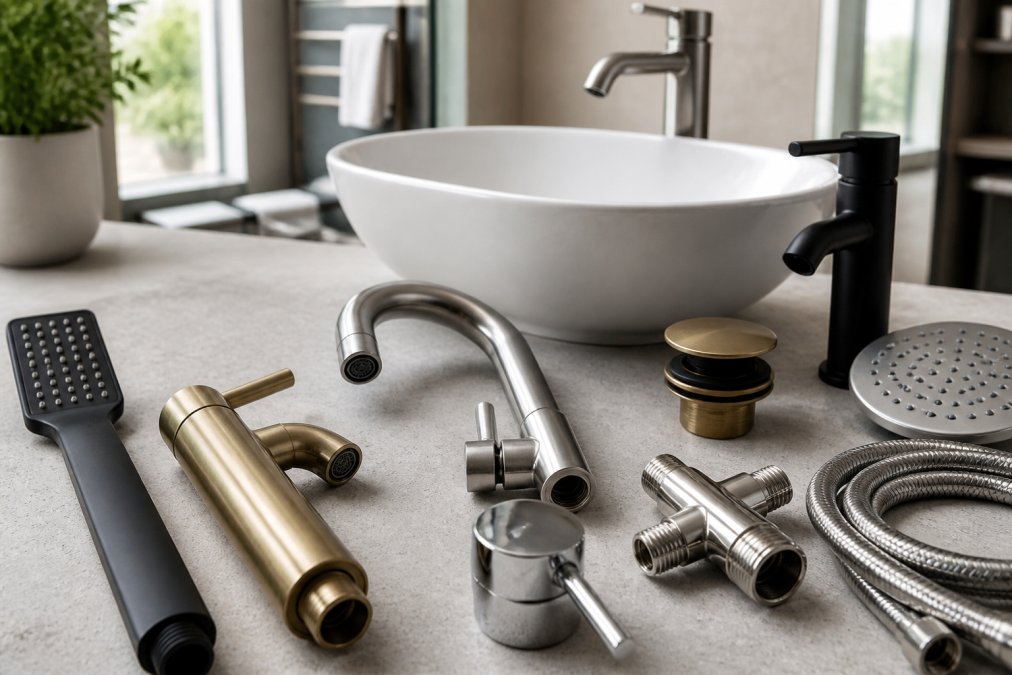

Article: How to Maintain High Performance Fixtures: 2026 Guide
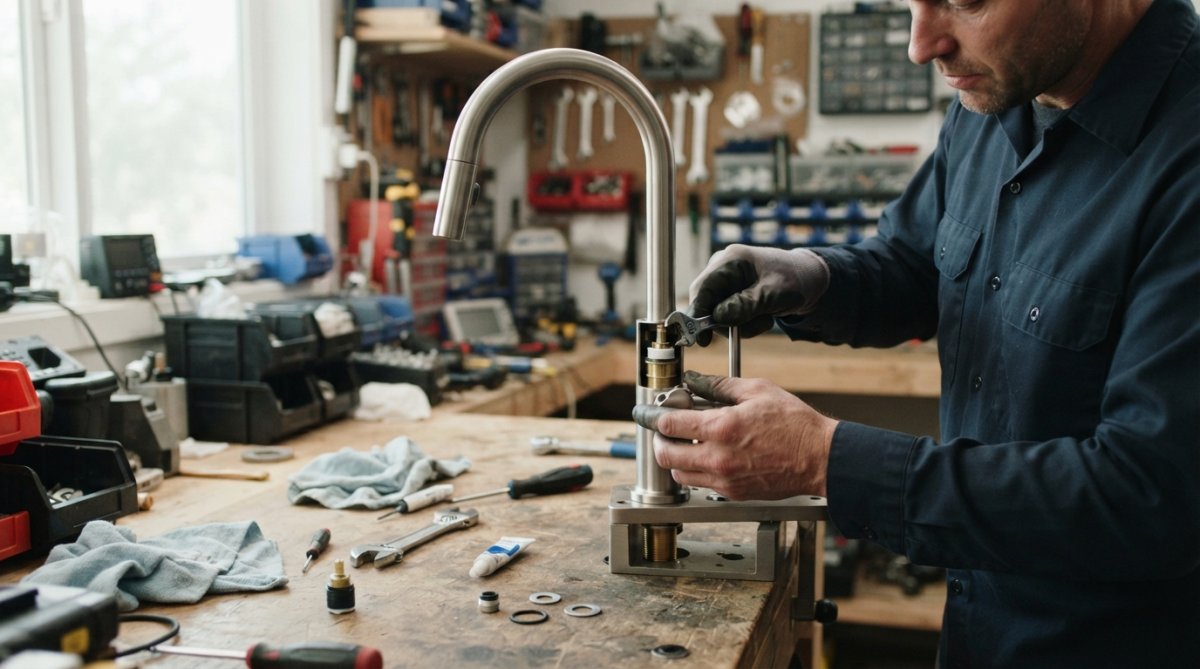
How to Maintain High Performance Fixtures: 2026 Guide
Table of Contents
- Why Regular Maintenance Matters for High Performance Fixtures
- Tools for Maintaining Premium Kitchen Fixtures
- Step-by-Step Guide to Maintain High Performance Fixtures
- Best Practices for Cleaning Luxury Hardware
- Preventative Maintenance Schedule for Home Fixtures
- Common Mistakes to Avoid and Safety Protocols
- Conclusion: Protect Your Investment
- Frequently Asked Questions
Last Updated: September 6, 2026
Why Regular Maintenance Matters for High Performance Fixtures
High performance fixtures are an investment in your home's comfort, appearance, and long-term value. Routine care protects that investment by preventing minor issues from becoming costly repairs. A proactive approach to maintenance keeps your kitchen and bathroom fixtures operating at peak efficiency while preserving their aesthetic appeal for years.
Proper upkeep transforms the lifespan of premium hardware. Fixtures that receive regular attention simply outlast those left to accumulate grime and wear. The goal is straightforward: catch small problems early and maintain the conditions that keep everything functioning smoothly.
Most homeowners don't realize that their fixtures are working harder than necessary. Mineral deposits, dust accumulation, and loose connections all force components to strain. Over time, this accelerates wear on seals, valves, and finishes. Consistent maintenance is the most effective way to extend fixture lifespan and avoid premature replacement.
Tools for Maintaining Premium Kitchen Fixtures
Before you begin any maintenance routine, assemble the right supplies. Using proper tools for maintaining premium kitchen fixtures prevents accidental damage and ensures thorough cleaning.
Essential Supplies for Everyday Care
The core toolkit is simple and affordable. You likely already own most of these items. What matters is using them correctly on your specific fixture finishes.
- Microfiber cloths for streak-free cleaning without scratching surfaces
- Mild dish soap or a pH-neutral cleaner safe for metal finishes
- Soft-bristled brush for reaching crevices and removing buildup
- White vinegar or a descaling solution for mineral deposits
- Small screwdriver set for tightening mounting hardware and trim
- Flashlight for inspecting hard-to-see areas behind fixtures
Avoid abrasive pads, harsh chemical cleaners, and steel wool. These will strip protective coatings and dull polished surfaces. When in doubt, test any cleaner on an inconspicuous area first.
Step-by-Step Guide to Maintain High Performance Fixtures
Following a consistent routine keeps every component in working order. This step-by-step process covers the essential checks and cleaning tasks that protect your fixtures' performance and appearance.

Step 1: Inspect Electrical Connections and Wiring
For fixtures with electrical components, start by turning off power at the circuit breaker. Examine visible wiring for fraying, discoloration, or loose connections. Tighten any terminal screws gently, ensuring wires sit securely. Check that conduit entries and junction boxes remain sealed against moisture. If you notice any damaged wiring, contact a licensed electrician rather than attempting repairs yourself.
Step 2: Clean Lenses, Housings, and Hardware
Dust and grime reduce light output and dull finishes. Wipe down all exterior surfaces with a damp microfiber cloth and mild soap solution. For glass lenses or shade covers, use a dedicated glass cleaner to remove haze. Pay attention to fixture housing, where dust accumulation can trap heat. Dry everything thoroughly to prevent water spots and moisture ingress.
Step 3: Check Heat Sinks and Thermal Management
Proper thermal management is critical for LED fixtures. The heat sink draws heat away from the LED driver and diodes. When dust clogs the heat sink fins, temperatures rise, accelerating lumen depreciation and shortening component life. Use a soft brush or compressed air to clear debris from heat sink fins and ventilation openings. Ensure nothing blocks airflow around the fixture.
Step 4: Address Environmental Factors
Kitchens and bathrooms expose fixtures to humidity, grease, and temperature swings. Wipe down fixtures after cooking or showering to remove residue. Check gasket integrity around fixtures exposed to water, replacing worn seals before leaks develop. Maintain adequate ventilation to reduce moisture levels. For outdoor or high-moisture areas, verify that all components remain corrosion-resistant and properly sealed.
Best Practices for Cleaning Luxury Hardware
Luxury finishes require a gentler touch than standard fixtures. The best practices for cleaning luxury hardware center on avoiding harsh abrasives and using the right technique for each finish type.
Polished chrome and stainless steel benefit from a simple wipe-down with a soft cloth and warm water. Brushed nickel and matte black finishes need extra care, as aggressive scrubbing can alter their texture. Always wipe with the grain of the finish, never in circular motions. For stubborn water spots, use a solution of equal parts water and white vinegar, then rinse and dry immediately.
Preventative Maintenance Schedule for Home Fixtures
Consistency beats intensity when it comes to fixture care. A preventative maintenance schedule for home fixtures ensures nothing gets overlooked. Set reminders for these intervals and stick to them.
Quarterly Inspection Checklist
Every three months, dedicate 15 minutes to a thorough inspection of your key fixtures. This routine catches developing issues before they escalate.
- Wipe down all visible surfaces and inspect for scratches or finish wear
- Test faucet handles and shower valves for smooth operation
- Check for drips or slow leaks around bases and connections
- Tighten any loose mounting hardware or trim pieces
- Inspect caulk and seals around sinks, tubs, and countertops
- Clean aerators and showerheads to maintain water pressure
- Verify all electrical connections remain secure and dry
| Maintenance Task | Recommended Frequency | Typical Time |
|---|---|---|
| Surface wipe-down | Daily or as needed | 1-2 minutes |
| Deep clean of finishes | Monthly | 10 minutes |
| Full inspection & hardware check | Quarterly | 15 minutes |
| Descaling aerators & showerheads | Quarterly | 10 minutes |
| Replace worn seals & gaskets | As needed | 15-30 minutes |
The Missing Layer: Maintenance Logs and Digital Tracking
A checklist tells you what to do, but it does not tell you what has already been done. Most homeowners and even some facility managers skip the documentation step, which leads to missed intervals and repeated problems. The professional approach is to keep a maintenance log.
Why a log matters:
- Warranty compliance: Many high-performance fixture warranties require proof of regular maintenance. A dated log with notes on inspections and replacements is your evidence if a claim is disputed.
- Trend spotting: A log reveals patterns. If you replace the same LED driver twice in a year, that is not bad luck; it is a sign of an underlying voltage issue or a defective batch.
- Home resale value: A documented maintenance history for built-in fixtures (e.g., recessed lighting, ventilation fans) signals to buyers that the home was cared for. It is a small detail that adds credibility during a sale.
How to build a simple log:
Use a spreadsheet or a paper notebook. For each fixture, record:
- Fixture location and model number
- Date of installation
- Date of each inspection and what was found
- Date of each cleaning or descaling
- Any parts replaced (bulb type, driver model, seal size)
- Any anomalies (unusual noise, flicker, heat)
For a digital option, a shared spreadsheet with columns for date, task, and notes is sufficient. There are also facility management apps that send reminders, but for a home, a simple spreadsheet is often more sustainable.
Smart and Connected Fixture Maintenance
If your high-performance fixtures are part of a smart home system, the maintenance schedule changes. These fixtures have firmware, not just hardware.
Firmware updates:
Smart fixtures receive updates that fix bugs, improve dimming curves, and patch security vulnerabilities. Check the manufacturer's app or website quarterly for updates. Some systems update automatically; others require a manual trigger. An outdated firmware can cause flicker, unresponsiveness, or reduced light quality that has nothing to do with the physical hardware.
Network health:
Smart fixtures depend on a stable network connection. If a fixture drops offline repeatedly, check the signal strength at the fixture location. A common pattern is that a mesh network node is too far away or a wall material is interfering. Before replacing the fixture, try moving the hub or adding a repeater.
Sensor calibration:
Occupancy sensors and daylight harvesting sensors drift over time. Dust on the sensor lens or a change in room layout can cause false triggers. Clean the sensor lens with a dry microfiber cloth quarterly. If the sensor has adjustable sensitivity and time-delay settings, test them after any room reconfiguration.
Battery backup:
Some smart fixtures have battery backup for emergency operation. Test these batteries quarterly. Replace them according to the manufacturer's schedule, typically every 1-2 years. A dead backup battery defeats the purpose of the emergency feature.
Annual Deep Maintenance Event
Once a year, schedule a deeper session. This is the time to:
- Remove and clean light fixtures that are not easily accessible (e.g., chandeliers, high recessed cans)
- Inspect and re-torque electrical connections on all fixtures (with power off)
- Check the condition of all gaskets and weather seals on exterior fixtures
- Test GFCI outlets that serve bathroom and kitchen fixtures
- Review your maintenance log and identify any recurring issues that need a different solution
Common Mistakes to Avoid and Safety Protocols
Most maintenance errors stem from good intentions paired with wrong techniques. Using vinegar on natural stone surfaces damages the finish permanently. Over-tightening connections strips threads and causes leaks. Applying silicone lubricants to moving parts attracts dust and accelerates wear.
High-Voltage and High-Bay Safety Protocols
Standard residential guides stop at "turn off the breaker." For facility managers and homeowners with high-bay or commercial-grade fixtures, the stakes are higher. These fixtures often operate at 277V or 480V, well above the 120V standard in residential panels. At these voltages, arc flash and electrocution risks demand a stricter protocol (osha.gov).
Before any work on high-bay fixtures:
- Lockout/Tagout (LOTO): If you are in a commercial or industrial setting, follow OSHA's Lockout/Tagout standard (29 CFR 1910.147) (osha.gov). This means physically locking the disconnect switch in the off position and attaching a tag identifying who is working on the circuit. Never rely on a wall switch alone.
- Verify voltage is absent: Use a non-contact voltage tester rated for the circuit's voltage class (the CDC). Test the tester on a known live circuit first, then test the fixture's supply wires. Repeat the test after a few minutes to confirm the circuit remains de-energized.
- Use insulated tools: For work near live parts, use tools rated for the voltage class (e.g., IEC 60900 rated for 1000V). Standard household screwdrivers are not sufficient for 277V or 480V systems.
- Ladder and lift safety: High-bay fixtures are typically mounted at 15 to 40 feet. Use a properly rated ladder or an aerial lift. For lifts, ensure you are trained on the specific model. Never overreach from a ladder; reposition it instead.
- Capacitor discharge: Some high-bay LED drivers and fluorescent ballasts store charge even after power is removed. Wait at least five minutes after de-energizing before touching internal components. Use a multimeter to check for residual voltage across capacitor terminals if you must handle them.
Thermal safety for high-output fixtures:
High-bay fixtures generate significant heat. If a fixture feels abnormally hot to the touch through a gloved hand, or if you notice discoloration on the housing, do not attempt a repair while it is energized. Shut it down via the LOTO procedure and inspect the thermal management system. A common pattern is clogged heat sink fins or a failed thermal interface material between the LED module and the heat sink. Replacing that thermal pad or reapplying thermal paste is a specific repair that extends fixture life, but it requires disassembly beyond what most users should attempt.
When to call a professional:
If you are not comfortable with LOTO procedures, do not have the correct voltage-rated testers, or the fixture is part of a networked system with emergency backup power, stop and call a licensed electrician. Emergency lighting circuits often have transfer switches that keep them energized even when the main breaker is off. A qualified technician will isolate those circuits properly.
Documentation and Incident Response
If you encounter a failed component, document it. Take a photo of the wiring configuration before disconnecting anything. Note the model number and driver specifications. This information is critical when ordering replacements or filing a warranty claim. If a fixture has failed catastrophically, isolate it and report the incident to your facility's safety officer. Do not simply replace the part and move on; investigate why it failed to prevent recurrence.
Conclusion: Protect Your Investment
Maintaining high performance fixtures is a manageable routine that pays dividends in reliability and longevity. Regular cleaning, quarterly inspections, and prompt attention to small issues prevent expensive repairs and keep your home looking its best. The supplies are inexpensive, the time investment minimal, and the payoff substantial.
At Crestpoint Home, we believe quality fixtures deserve quality care. Our curated selection of high-performance kitchen and bathroom essentials is built for lasting reliability, and our support team can answer questions about maintaining your specific products. Explore the collection to find fixtures designed to elevate your space and perform beautifully for years to come.
Frequently Asked Questions
How often should high performance fixtures be cleaned?
Most high performance fixtures benefit from a light wipe-down weekly and a thorough cleaning monthly. For kitchen fixtures exposed to cooking grease and bathroom fixtures facing hard water, increase frequency to every two weeks. Follow your preventative maintenance schedule for home fixtures to catch buildup early. Dust accumulation and grime can reduce light output and efficiency, so regular attention keeps your fixtures performing at their best and extends fixture lifespan.
What are the best tools for maintaining premium home fixtures?
The best tools for maintaining premium kitchen fixtures include a soft microfiber cloth, a gentle pH-neutral cleaner, a soft-bristled brush for crevices, and a small screwdriver set for inspecting mounting hardware. Avoid abrasive pads or harsh chemical cleaners that can strip protective finishes. For electrical components, keep a voltage tester handy to check wiring integrity safely. These tools help you maintain high performance fixtures without risking damage to delicate surfaces.
How can you tell if a fixture requires professional maintenance?
Call a professional if you notice flickering lights, recurring overheating, visible corrosion on electrical connections, or water damage around the fixture housing. A persistent burning smell or buzzing sound also signals deeper issues. While regular cleaning and checking for signs of overheating are DIY-friendly, any concern involving wiring integrity or voltage stability requires a licensed electrician. Attempting repairs on high-voltage fixtures without proper training creates serious safety risks.
Does regular maintenance improve the energy efficiency of fixtures?
Yes. Dust accumulation on lenses and LED drivers forces fixtures to work harder, increasing energy consumption while reducing light output. Keeping heat sinks clean prevents overheating, which accelerates lumen depreciation. Regular maintenance also ensures gasket integrity, preventing moisture ingress that can corrode components and reduce efficiency. A quarterly inspection and cleaning routine helps maintain optimal performance and keeps your energy bills as low as possible.
High performance fixtures represent a meaningful investment in your home. Protecting that investment requires consistent, informed care. Whether you're maintaining a single faucet or an entire suite of premium hardware, the principles remain the same: clean gently, inspect regularly, and address issues early. Get started with Crestpoint Home and discover fixtures built to deliver lasting performance and timeless style.